|
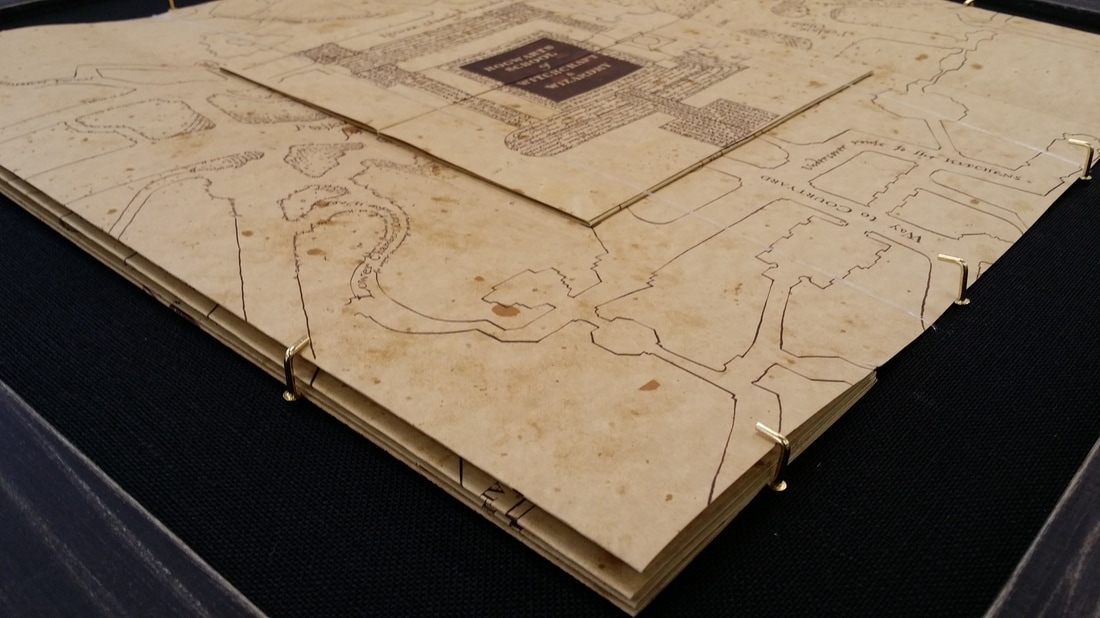
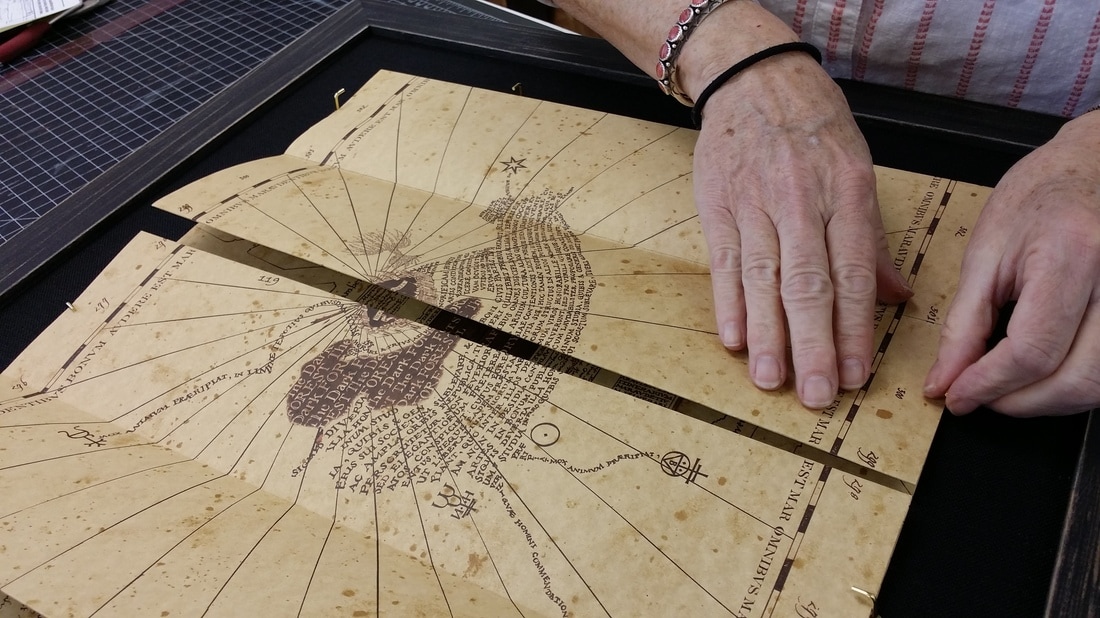
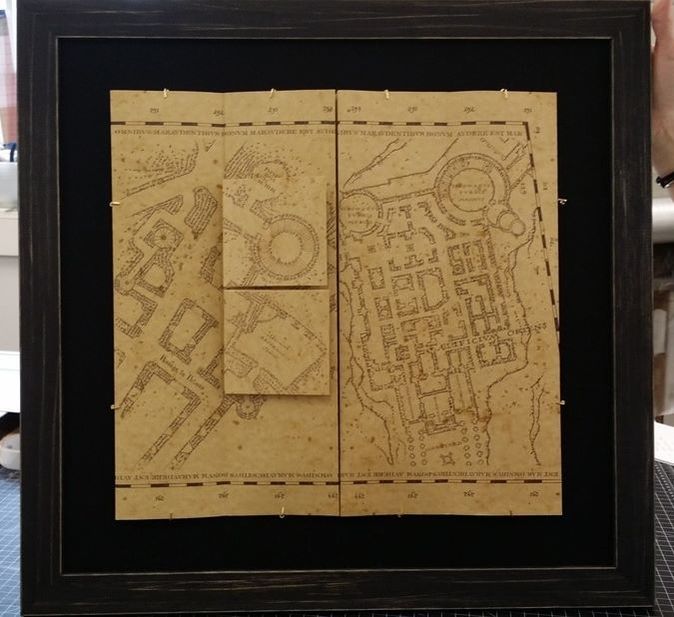
One of our favorite projects to date! A client in our Crozet shop brought in a magical Marauder's Map! 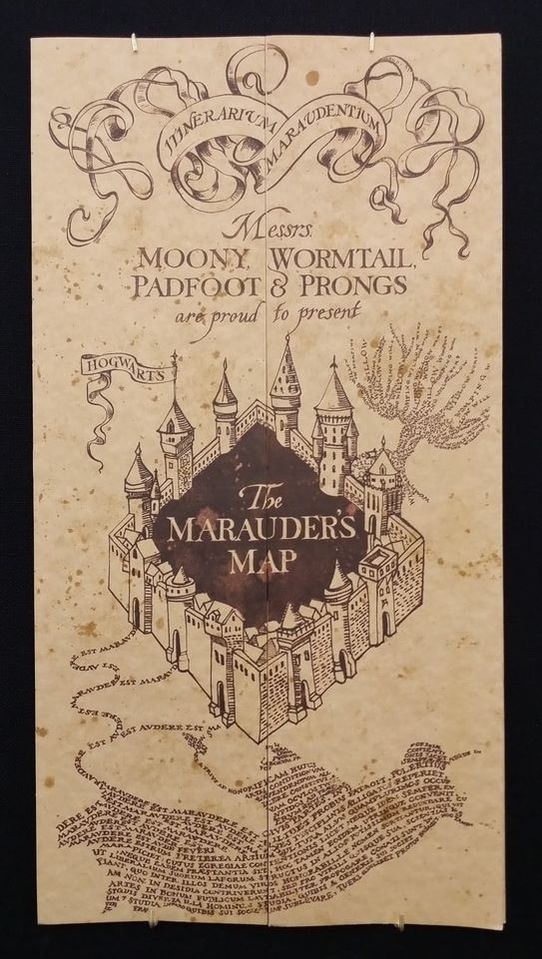 For those unfamiliar with the Marauder's Map, you must see the Harry Potter series for a full reveal. From www.harrypotter.wikia.com: "The Marauder's Map is a magical document that reveals all of Hogwarts School of Witchcraft and Wizardry. Not only does it show every classroom, every hallway, and every corner of the castle, but it also shows every inch of the grounds, as well as all the secret passages that are hidden within its walls and the location of every person in the grounds, portrayed by a dot. It is also capable of accurately identifying each person, and is not fooled by animagi, Polyjuice Potions, or invisibility cloaks; even the Hogwarts ghosts are not exempt from this." This beautiful rendition of the Marauder's Map has layers and layers that unfold and expose different levels of the Hogwarts School. Our client wanted to be able to interact with her map, so a unique framing solution was needed. Here, you can see the many layers. In addition to the outer folds of the map, the very center reveals a smaller folding map that cascades perpendicular to the map's major folds. If you look very closely, you can see a clear thread that pulls across to keep the smaller map in place. This thread is stretchy and allows for the viewer to pull it away and unfold the inner map for viewing. Along the edges of the map, we installed brass turning hardware. This hardware can be turned away, allowing for the map to fold or unfold to a new layer, then turned back to hold the new map view in place. This map is an exquisite piece of architecture. Bookmakers, illustrators, and paper enthusiasts will all agree. We show off its worn, yet magical air, with a dark linen mat and an understated wooden frame. Don't you love it?! We do!
2 Comments
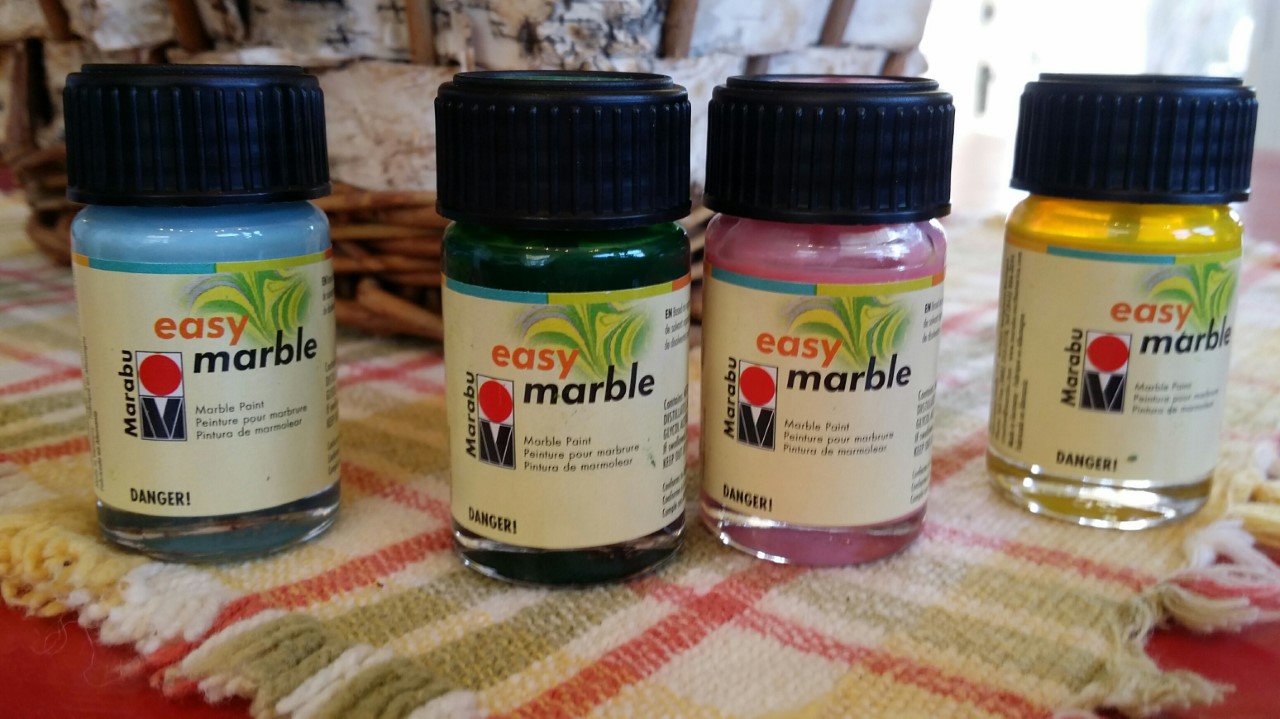
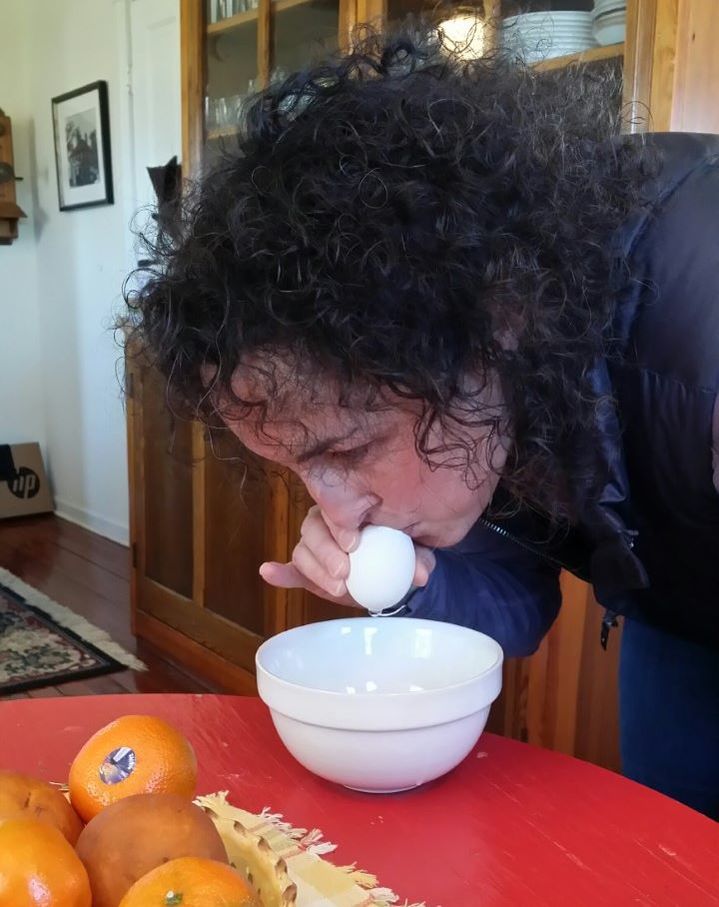
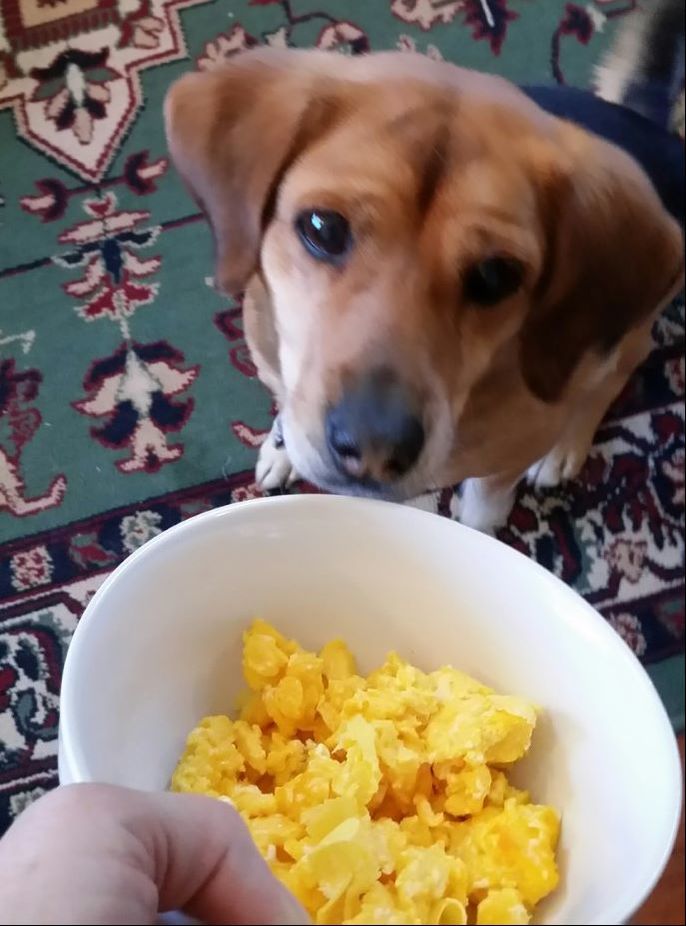
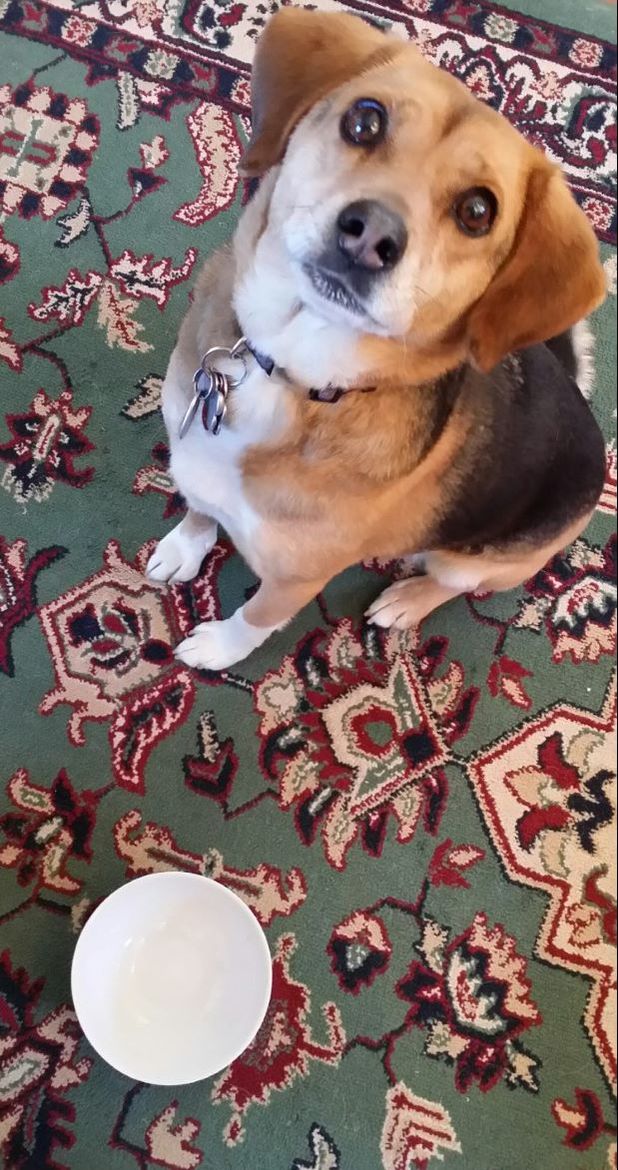
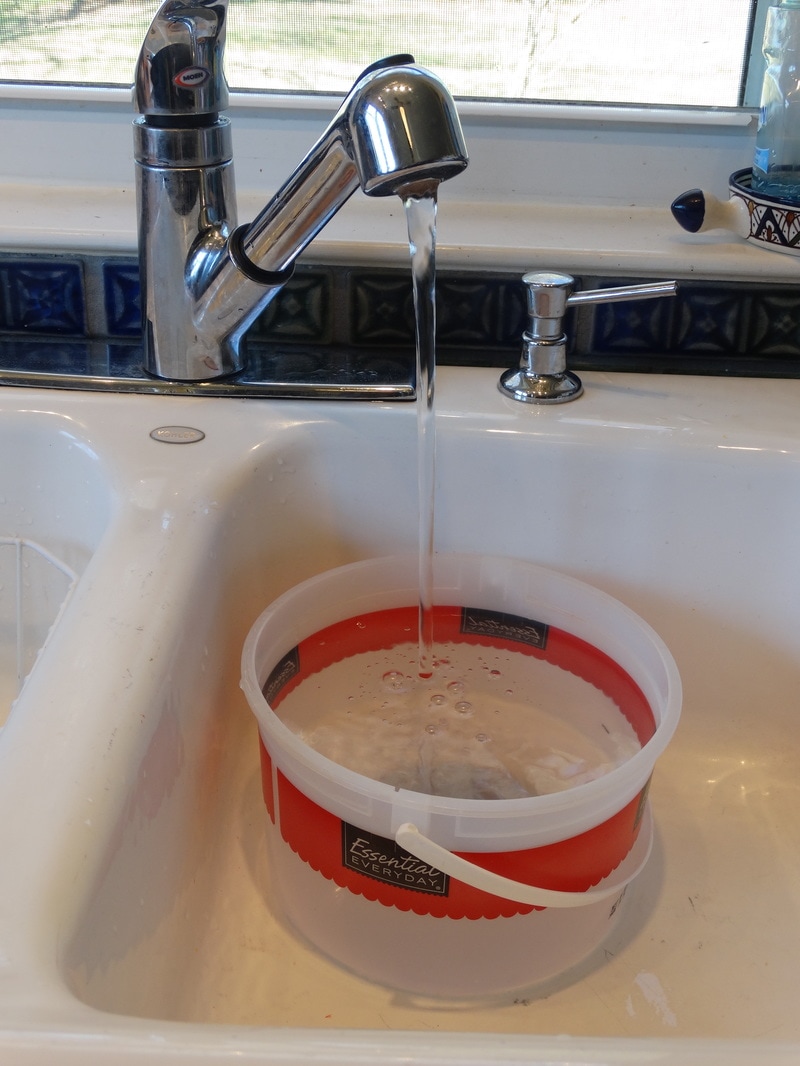
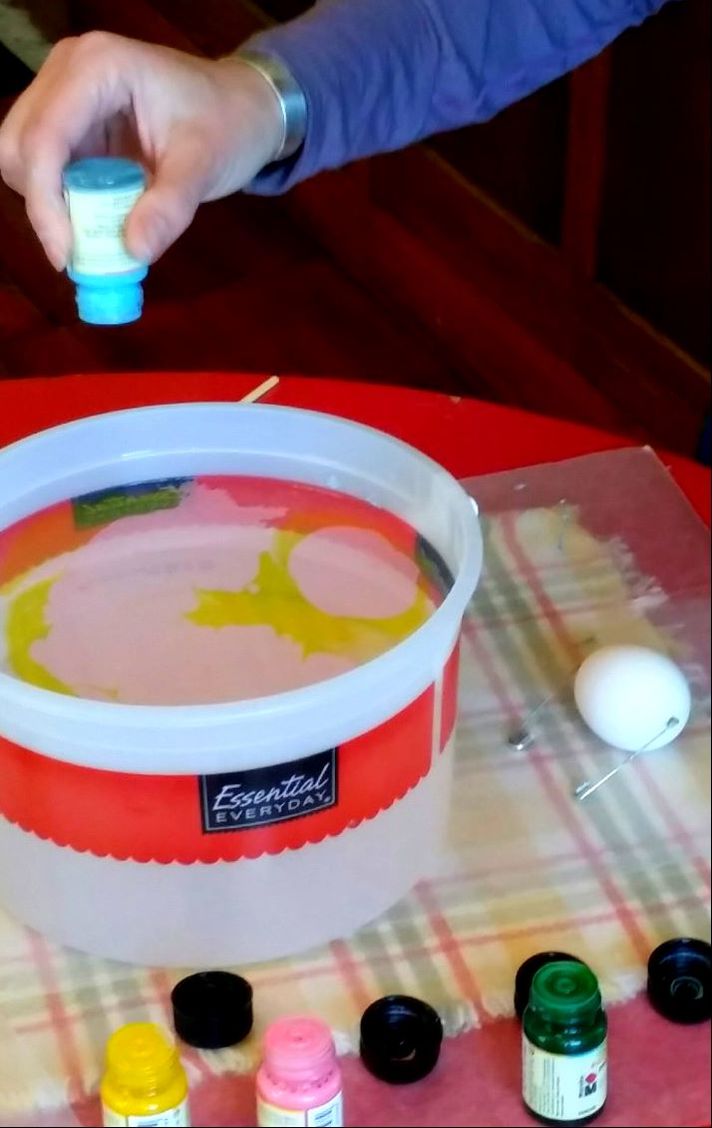
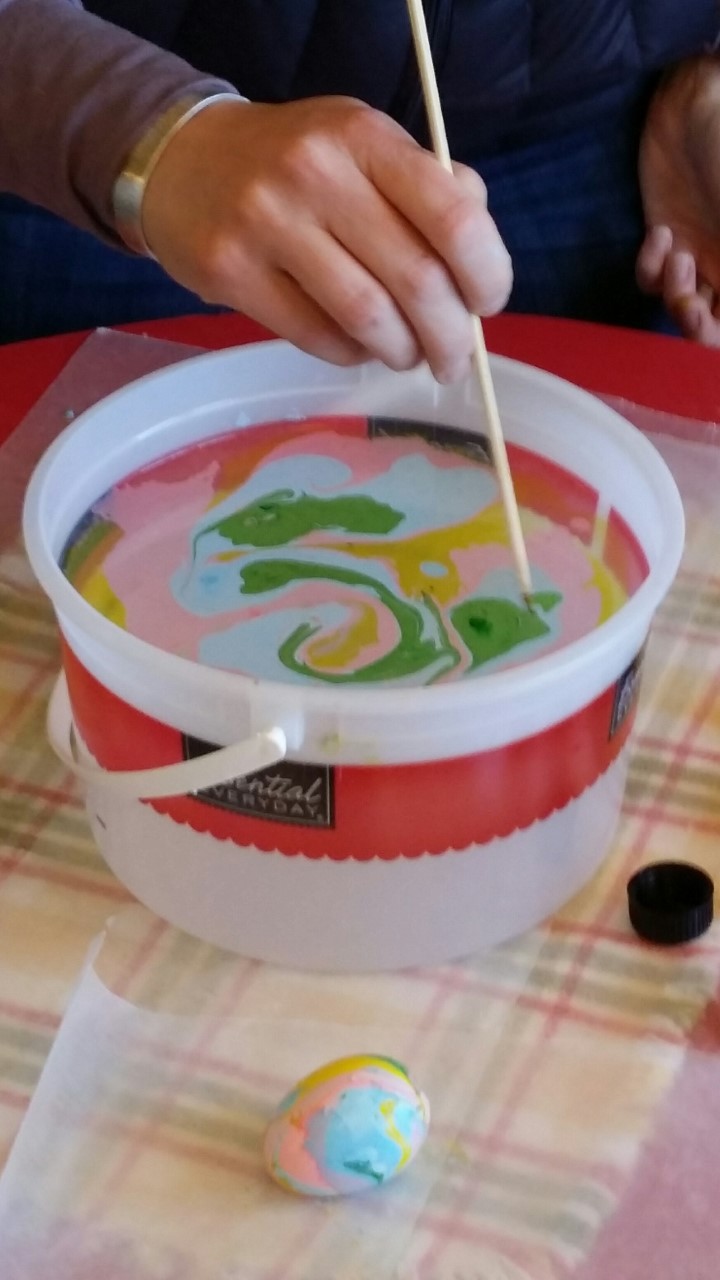
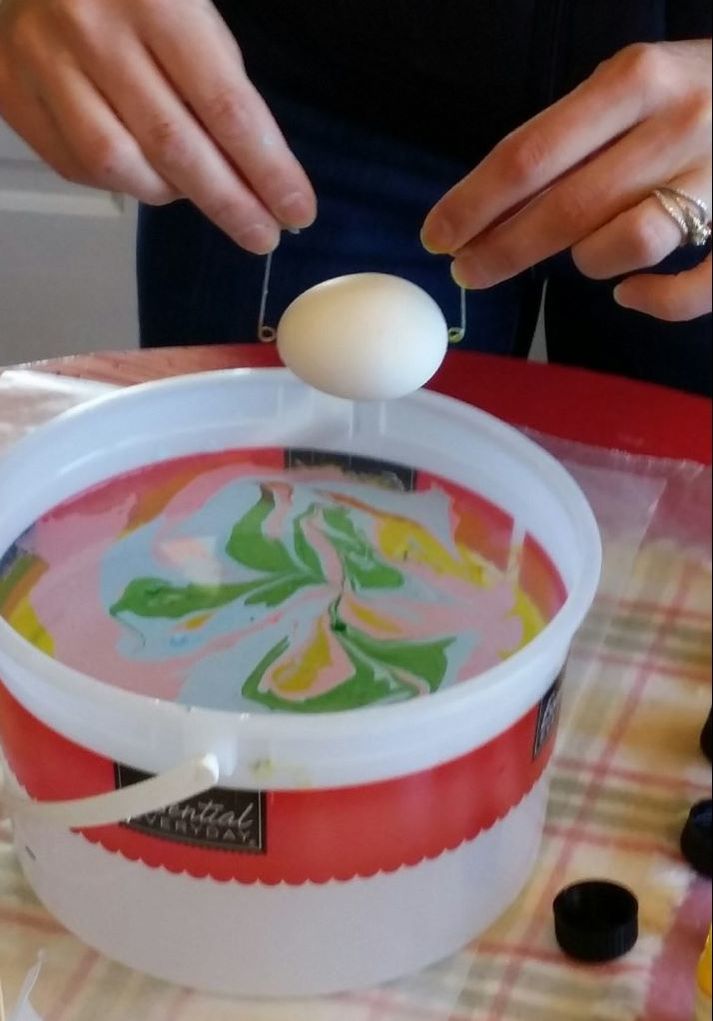
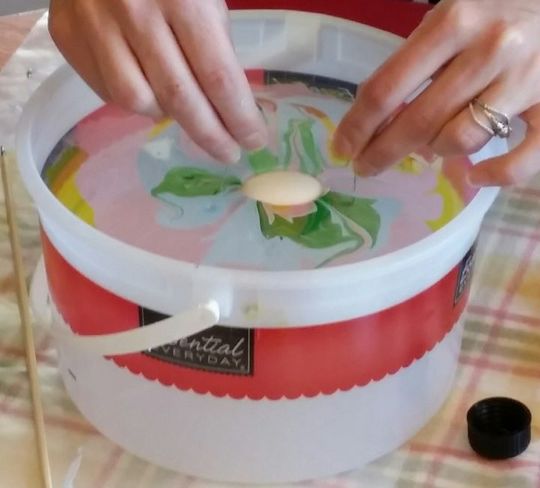
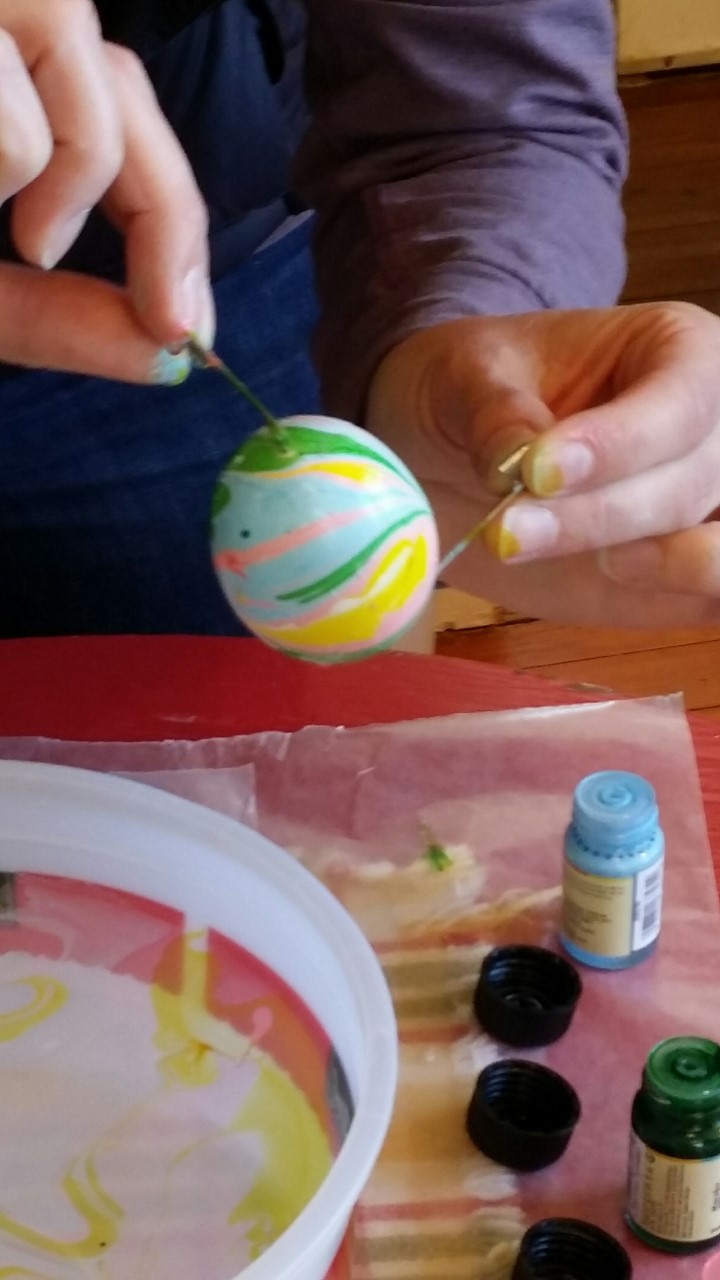
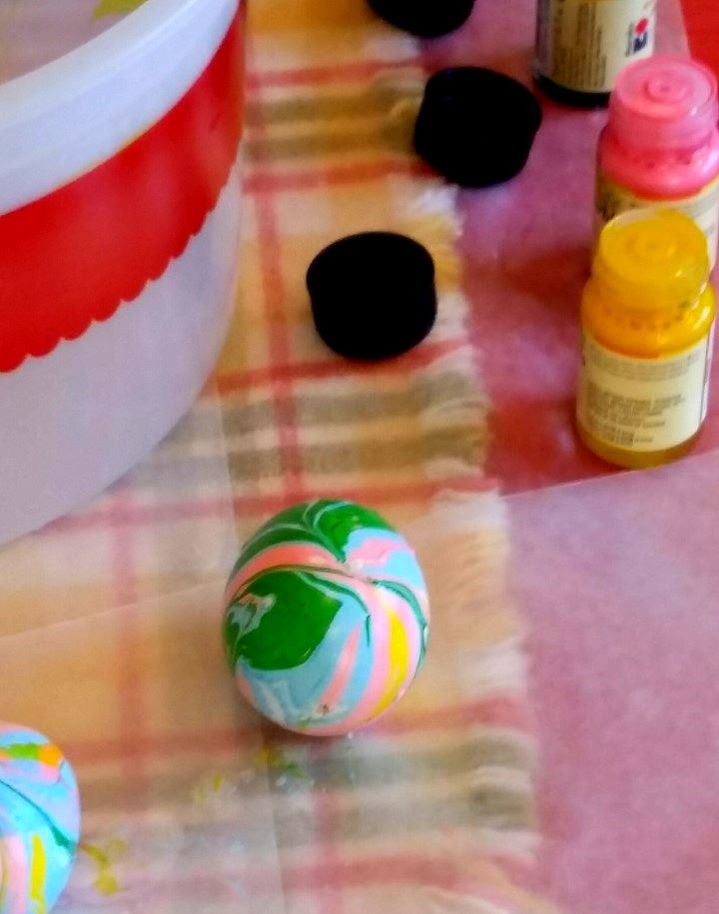
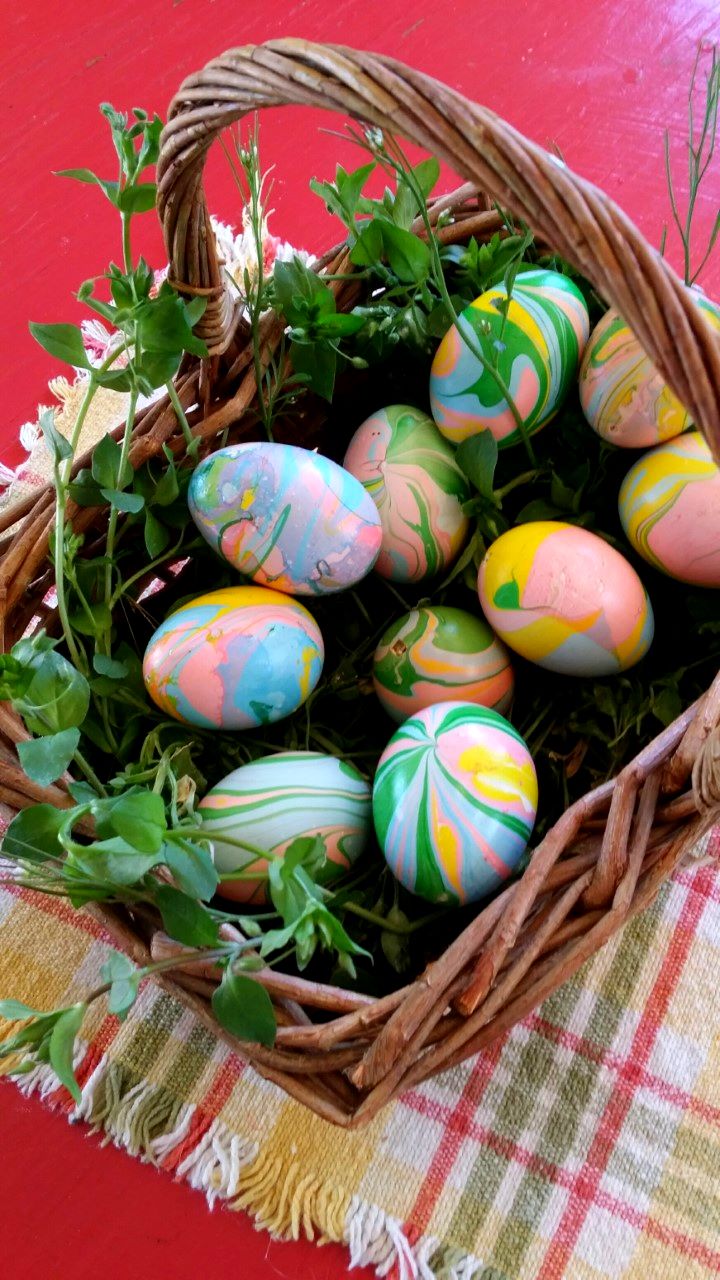
Hi Folks! Here is a demo of one of our most interesting products. It is made by Marabu, and is a resin based marbling compound that is easy to use and will stick to almost anything. Here's what you need to gather to do this project: Some eggs Two large safety Pins A disposable bowl or bucket to hold water 3 or 4 Colors of Marabu Easy Marble Paper towels Wax Paper to cover your table We decided to make marbled easter eggs, so we started by blowing a bunch of fresh eggs from Anne's free range chickens. "Princess Penny of the Pillows" got to eat the yummy contents... She probably would have liked it if we had blown even more eggs... Next, fill a "non-precious" container with water. Drip the colors onto the surface of the water. Swirl the color on the surface of the water with a skewer or stick. With your egg suspended from two safety pins, lower it into the marbling mixture. The marbling compound will wrap around the egg as you lower it below the surface of the water. Once you have lowered the egg into the water, you should blow on the surface of the water to move the extra marbling paint away from the egg before you lift it out. A finished egg. They dry to the touch in about 10 minutes. Our beautiful basket of Easter Eggs. And soooo EASY. Check out our YouTube video! Watch Amanda in action.
|
Creative Framing & The Art BoxJoin us on our Creative Journey, encouraging people to embrace the Arts as we share our experience! Archives
November 2021
Categories |

 RSS Feed